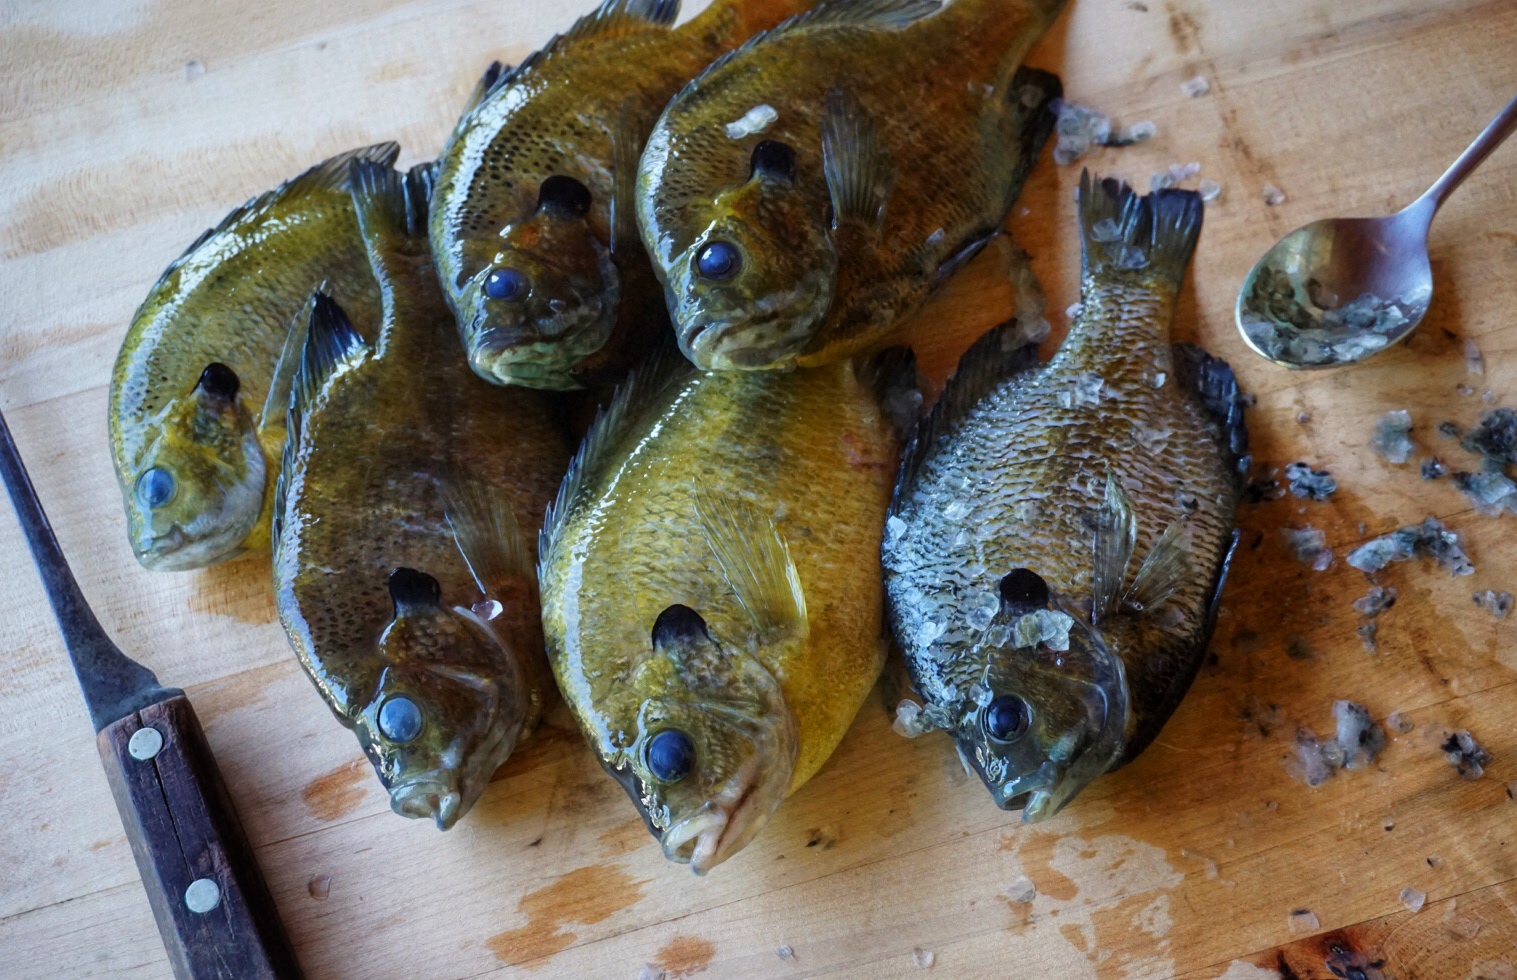
BDR
BDR
Broadening the Hunting Narrative

Catfish Étouffée

DSC01917.jpg


“Étouffée”, is French for smothered, and most commonly associated with the shellfish gravies served over rice in Louisiana’s Acadian region. The dish employs French techniques filtered through African and indigenous influences.  Popularly served with crawfish or shrimp, étouffée can employ any “seafood” as its protein base and catfish especially, seems to take to this preparation.  I prefer to use large fish (usually over 8 lbs) that sometimes get a bit tough and therefore aren’t ideal for frying. This method results in tender meat and with a little time, transforms the humble catfish into world class table fare.

Ingredients

2 lbs catfish (cut into large chunks)

3/4 cup of peanut oil

3/4 cup of flour

2 lg bell peppers

2 med onions

6 stalks celery with leaves

5 lg cloves garlic

2 tsp old bay

1 small jalapeño

1 tsp black pepper

2 tsp Cajun seasoning

2 bay leaves

1 tsp sugar

1 tsp thyme

3.5 cups stock

5 splashes Worcestershire sauce 

salt to taste

Save yourself the potential for problems while in the throws of roux making and chop your vegetables before you start cooking.  The bell pepper, celery and onion can all be rough chopped in half inch pieces and held separately.  This combination is known as “Holy Trinity” in Louisiana and serves as the flavor base for much of the Creole and Cajun cuisine.  The jalapeño and garlic can be minced and held together.

  1. First, make a roux.  Combine oil and flour in a heavy bottomed pot over med heat and stir constantly with a wooden spoon or whisk.  The goal is a peanut butter colored roux.  This will impart a toasted flavor to the dish while still retaining much of the flours’ ability to thicken.  Stir constantly to avoid scorching. 

  2. Once the roux has become the color of peanut butter, add your trinity.  Cook until veg are softened and the onions are translucent.  At this point add the garlic and jalapeño and cook until the garlic is just starting to brown.

  3. Add all dry spices aside from the bay leaf.  Stir into roux and veg, then add the half can of crushed tomato.

  4. Now, add stock, Worcestershire, and your bay leaves and stir to combine all ingredients.  Allow mixture to come to a slow rolling boil, then cover the pot with a lid and reduce to a simmer for one hour.  Stir occasionally.

  5. After an hour, carefully add catfish pieces to the pot and make sure that all meat is covered with the gravy.  Return cover to pot and allow the gravy to cook your catfish on a very low simmer for 10-20 minutes depending on the thickness of your fish.  The goal is to have tender meat that still holds together.  Serve over rice and garnish with plenty of chopped green onion.  This gravy will only improve after an overnight stay in the fridge.  When you reheat, do so slowly on the stove (not a microwave) and it will be even better the second day.

 
Serve your Étouffée as a gravy over rice or with rice on the side for a hearty, flavorful meal.

Serve your Étouffée as a gravy over rice or with rice on the side for a hearty, flavorful meal.


Smoked Trout Croquette

troutcroquette.JPG


This recipe is my homage to a classic African-American dish served in black households across the country…the salmon croquette. I’m aware that folks of all backgrounds eat salmon croquettes, but I’ve always associated it as a black dish. It’s the kind of thing I associate with my Aunt Gloria or Great Aunt Thelma’s kitchen like spaghetti and fried buffalo fish or fried chicken skin sandwiches. They are simple and comforting and just greasy enough. Delicious plain or dressed up in a sandwich or even as an addition to breakfast, they hold a special place in my heart. They were one of the first things I learned to competently, cook on my own as a child and they still deliver.

I haven’t made croquettes with canned salmon in many years. Now when I make them, I do so with trout I’ve caught, usually form the Little Red River in Arkansas. The fish used in this recipe were caught by my wife, mother and myself while on vacation in Branson, MO. I dry brined the fish and smoked them with cherry wood a few weeks ago. We ate some whole and the rest of the fish had their meat flaked, vacuumed sealed and frozen. I wanted to wait for my mom to come visit again with the plan to make this meal as a way to remember our fun morning fishing together. Smoked trout handles being frozen with this method extremely well and I recommend you try to preserve some of your next catch the same way.

Once the croquette is cooked you can serve it any number of ways. Enjoy the croquette on it’s own as an entree, pair with a poached egg and hollandaise for an unbelievable Eggs Benedict or plate them the way I chose to this time, as burger. I think you’ll be blown away by how tasty and versatile this preparation can be.

Ingredients

1.5 lbs of smoked, flaked trout

1/2 a red onion (minced)

1/2 bell pepper (minced)

1 garlic cloves (finely minced)

1/2 cup celery leaves and stalk (minced)

1/4 cup fresh dill (finely chopped)

1 tsp dried dill

juice of half a lemon

1/2 cup cracker crumbs

3 eggs (beaten)

2 tsp yellow mustard

salt and pepper to taste

several dashes Louisiana hot sauce

1. Put your fish in a mixing bowl big enough to accommodate all the ingredients plus your hands.

2. Add the veggies and dill first. Make sure you have a consistent chop size on your aromatics so they cook at the same speed. You’ll end up with veggies on the inside of the croquette that are just barely cooked through and still have a slight bit of integrity to them. Give it a quick mix.

3. Now add the lemon, eggs, hot sauce and the s&p. Mix the concoction so that everything is incorporated, but still recognizable.

4. It’s time to add our crackers. Only add enough to get the mix to bind into patties. Once you hit that point stop. This will allow our croquettes to remain moist and not turn out dry and disappointing.

5. Form the mixture into “patties.” The size is up to you, just make sure they are consistent in thickness throughout.

6. Cook the croquettes in a little bit of neutral oil, med high heat, preferably in a cast iron pan. Allow each side to develop a nice, deep golden crust (around 3-4 minutes per side).

That’s it. Serve plain, with sour cream, as a sandwich or however you most like. For this meal I served the croquette burger style, with oven roasted okra and tempura fried bite sized onions.


Trout croquette (burger style), with roasted okra and tempura fried bite sized onions.

Trout croquette (burger style), with roasted okra and tempura fried bite sized onions.


Simple Smoked Trout

Whole smoked trout. Beautiful in it’s simplicity.

Whole smoked trout. Beautiful in it’s simplicity.


This is an incredibly simple method for preparing trout. It pretty much just involves, salt, smoke and a little bit of time. The great thing about this method is that it gives you a ton of options. Trout right out of the smoker is delicious and makes a wonderful meal. It also tastes great cold the next day. Leftovers can be used for dips, salads and a melange of other preparations. There are definitely a lot of versions of smoked trout or salmon that require the addition of brown sugar and spices. Those recipes are delicious as well. For this one though, I wanted to keep everything as simple as possible, not only for ease of cooking, but because we will end up with a product that lends itself towards inclusion in the greatest variety of additional recipes.

Ingredients

Whole Trout (guts and gills removed) 10-18” in length

Course Kosher Salt

Rosemary Twigs

1. Once your fish are cleaned, thoroughly rinse them in cold water. You don’t have to go crazy here, but we want to insure the body cavity is clean and to try to remove as much of the mucoprotein (slime) as you can.

2. Pat the fish dry with paper towels, inside and out.

3. Thoroughly cover the fish both internally and on the exterior with course kosher salt. Do not use regular table salt or anything with a fine grind. Salt with too fine a grind will over power the fish. Course kosher salt has a lot of surface area an works great for this particular application.

4. Place fish on a rack, in the fridge with a tray underneath. We are only leaving the fish in the fridge for about 2 hrs. The salt will remove a little moisture from the fish, season it, and help to remove the last traces of that slimy coating. This is a very simple version of a dry brine. Again, there are a lot of other recipes that involve more ingredients for a dry brine. Nothing wrong with that, but for this preparation we want simple, simple, simple.

5. After the requisite time has passed, remove the fish from the fridge and again thoroughly rinse in cold water. We want to remove as much of the salt as possible. Once that’s done pat dry with paper towels and return to the rack in the fridge. Leave the fish in the fridge for at least 3 hrs, but overnight is probably better. This is the point that we are developing a pellicle on the fish. That just means that as the fish dries a bit in the refrigerator a tacky coating will develop. That’s what the smoke will stick too.

6. Now its time to smoke the fish. We are looking for a consistent temp of around 215. You can use any wood you would like, but I highly recommend you use a mild one. I’m a big fan of fruit woods when smoking. This time I used cherry. Before you place the fish in the smoker skewer them with the rosemary twigs in two places in the belly flaps. This will allow you to position the fish with their split bellies open, which in turn will allow better smoke penetration. If you dont have rosemary in your garden just use toothpicks or bamboo skewers. The rosemary is a nice option though as it will absolutely impart some wonderful subtle flavors and char to the finished product. Smoke for 2-3 hours depending on the size of your fish. All of my trout were in the 10-14” range so I ran the smoker for about 2.5 hrs with the biggest fish on the rack closet to the heat source.

7. That’s it. You have beautiful smoked trout that can be enjoyed any number of ways. For this batch I served it simply with brown rice and blistered asparagus. I flaked the meat off of the fish that weren’t eaten right away and vacuumed sealed it. The meat will keep in the freezer for some time,but I plan to use it in the next few weeks.


Whole Fried Bream

Whole fried bream. Serve them simply with raw red onion, hot sauce and spicy bread and butter pickles.

Whole fried bream. Serve them simply with raw red onion, hot sauce and spicy bread and butter pickles.


Bream are the best.  The are delicious. They are fun to catch and they are plentiful.  Often times they are a person's first experience with success when learning to fish.  They were with me. I still remember catching a little green eared sunfish while visiting a timeshare in the Lake of the Ozarks as a young boy.  My mom acted like I had harpooned a whale. I was so proud. She filleted that little sucker and fried up two bite sized fish nuggets for me to eat.  They were amazing and the sense of accomplishment and pride I felt still resonates with me as I now raise children of my own.

As an adult, fishing for bream is still a favorite way to put protein of the aquatic variety into the freezer.  A cheap Zebco rod and reel, a bobber, and a cricket or worm dug out of the garden can get you into a certified mess.  That’s what happened the other day when my in-laws gifted us with an ice chest full of nice sized bream they had caught during an afternoon excursion....I knew just what to do with them.

I’m a firm believer that the BEST way to prepare bream is also one of the simplest.  Scale them, gut them, dredge them in yellow cornmeal and fry them up. They present beautifully this way, but it also is a method that lets the unassuming fish shine.  The meat is flaky and buttery and as you eat (with your hands of course) there is always the anticipation of biting into that crispy tail. It’s like a cross between a potato chip and a pork rind except that it tastes even better.  The bones are easy to work around and it doesn't take long to eat a pile of these sumptuous little buggers. If eating a whole fish is a bit out of your comfort zone I suggest you put on your grown up drawers and give it a try. It’s one of the most common ways globally to consume fish and there is a reason for it...it tastes good.

Scaling is as simple as using a spoon and dragging it across the fish in the direction opposite of how the scales lay.  Be quick and be thorough and don’t worry about being too delicate with it. Once you've cleaned several the process speeds up.  I’d guess I’m only spending ten seconds or so to scale each fish. Then all you’ve got to do is make an incision along the belly of the fish and pull everything on the inside to the outside.  Some folks worry with cutting off the dorsal and pectoral fins, but I don’t bother. After your fish are scaled and gutted, give them a good rinse inside and out with cold water. Now it's time to fry!

Ingredients

scaled and cleaned whole bream

yellow cornmeal (seasoned as you like it)

peanut oil

1. Heat approximately 3/4 of an inch of peanut oil up to 350 degrees in a cast iron skillet. It’s worth it to invest in a frying/candy thermometer for just this purpose. If your oil is too cool and you’ll end up with a soggy, greasy mess, if it’s too hot you’ll have unpleasantly burned breading and the crispy bits won’t be as delicious.

2. Lightly score the fish with a sharp knife several times on each side. While the bream is still wet from it’s final cold water rinse, dredge the entire fish in your seasoned cornmeal. Personally, when frying fish I use Slap Yo Mama seasoning, but feel free to just use salt and pepper or any other seasoning blend that you like. Just make sure to season the cornmeal sufficiently. Don’t be afraid to use your hands and manually pat the cornmeal into the nooks and crannies of the fish. The interior cavity doesn’t need to be coated, but try to get an even and consistent coating on the entire exterior.

3. Slowly lower your cornmeal covered fish into the hot grease. Don’t crowd your pan and monitor your cooking temp, trying to keep it as close to 350 as possible. After 2-3 minutes on one side gently turn the fish over with a pair of tongs and allow the other side to cook for 2-3 additional minutes. If you want a little bit of a more golden fry on the fish give it another flip and another minute or two in the hot oil.

4. Remove the fish and allow it to cool on a wire rack or a paper towel for a couple of minutes. You are going to eat this with your bare hands so you don’t want straight out of the fryer scalding, but you do want it to be hot and crispy when you tear into it.

Enjoy with hot sauce, a bit of fresh squeezed lemon or completely on their own. I’m usually a glutton for tatar sauce when eating fried fish, but not when it comes to bream. I’m telling you, these are so buttery and delicious you won’t need to slather them in anything at all. Simply flake the meat off with your fingers or a fork and enjoy. In the words of my two year old, “This good fish!”


Scaling and cleaning just requires a spoon and a sharp knife.

Scaling and cleaning just requires a spoon and a sharp knife.